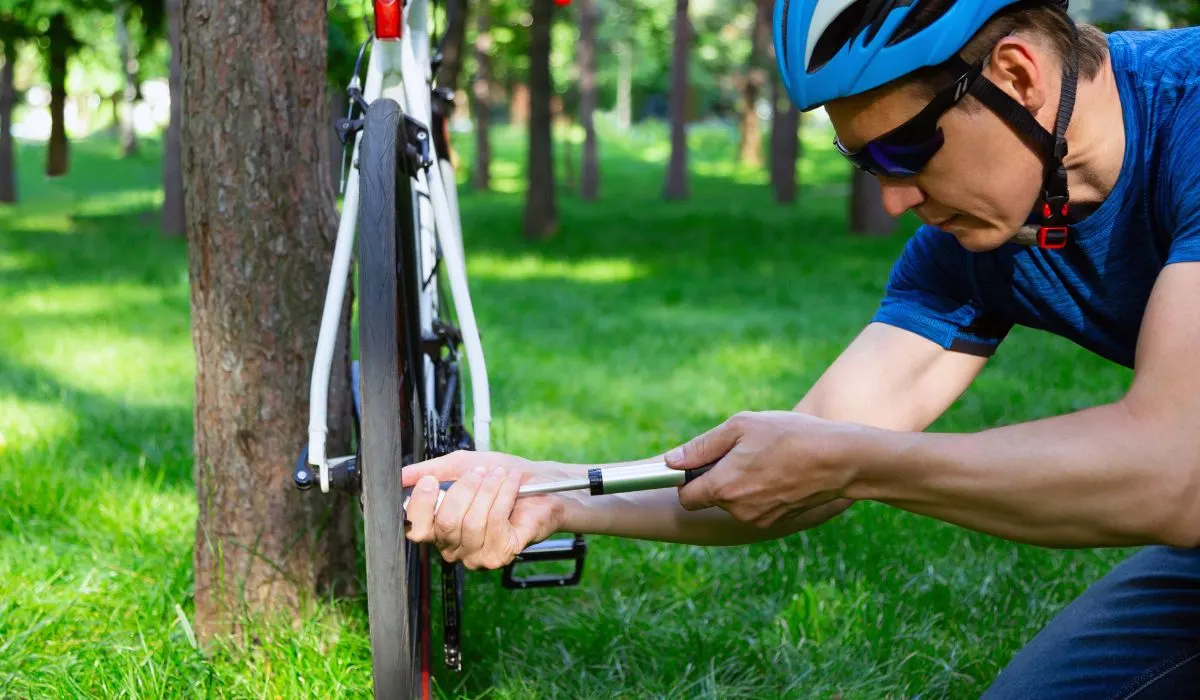
The word frustrating is an understatement when you experience a flat tire and have a faulty bike pump while driving on the road. We all know that a bike pump is a crucial tool for cyclists who always look forward to keeping their bikes in top-notch condition.
But as with the other mechanical devices, you can expect bike pumps to be faulty which impacts their functionality. And the reasons for the bike pump not working are many.
Before rushing off to buy a new pump, you first need to test various aspects of the bike pump to identify the problem since you might be able to fix most of the issues yourself.
Overall, it is important for riders to know why their bike pumps don’t work and how to fix them. So this guide is for them. Keep reading till the end!
Table of Contents
Affiliate links may be used in this post. I may receive a small commission at no extra cost to you if you use my affiliate link.
Why is My Bike Pump Not Working?
You might be wondering why your bike pump is not working at a proper level, and as we mentioned earlier, there could be several causes. But the most common reason why bike pumps fail to inflate tires correctly is that they leak air. Moreover, it can happen due to several other factors as well, including a defective hose, an incorrectly placed pump head, or an old pump.
It is important to know which part to repair when repairing your bike pump because there could be a number of reasons for it to malfunction. Below we have shared the most common reasons and solutions to fix your faulty bike pump.
The most common reasons for a bike pump not working relate to the:
- nozzle
- air hose
- main seal
- pressure gauge
These parts can break and need replacing, especially if it is a lower-quality bike pump. But in most cases, simple maintenance will fix the problem.
What to do When My Bike Pump Is Not Working?
You should start by identifying the problem you are experiencing to troubleshoot why your bike pump is not working. Only then can you assess and determine where the fault lies. Once you know what is causing the bike pump not to work, follow these steps to solve the issue.

The Bike Pump Is Not Attaching Properly
A typical problem why a bicycle pump not pumping that many people encounter when trying to put air into their bicycle tires is that the bike pump is not attaching correctly: when you put the nozzle on the valve, it falls off as soon as you start pumping. This problem happens when the connection between the bike pump and the tire valve is not flush (level) or if the bolt system in the nozzle has been compromised.
Step 1: Examine Your Tire Valves
Bikes usually have either Schrader valves or Presta valves. Schrader valves are the ones you typically see on a car, and Presta valves are thinner with a sharp point.
If you have Schrader valves, press the pump fitting hard enough onto the valve to connect correctly. If you have Presta valves, you must unscrew and loosen the tip slightly before putting the nozzle on since it can get stuck over time.
TIP: Once you press the valve after the top loosens, you should hear and feel the air released.
When you are sure that the valve is ready, you can mount the bike pump and try connecting it again to the valve. The bike pump should now attach firmly to the tire. If not, then the valves might not be the problem.
Step 2: Check That The Nozzle Locks Into Place
If you have checked your valves and all is fine, then the issue might be with the bike pump nozzle.
To test your nozzle, start with the lever “unlocked,” i.e., point the lever down towards the ground. Place the nozzle onto the tire valve and secure it. Turn the lever up so that it is parallel to the floor. You should feel it lock into place.
Step 3: Replace The Bolt
If the nozzle is still not attaching correctly to the valve, the bolt inside the nozzle might be faulty. The small bolt turns and locks the parts into place once the lever is engaged. If it isn’t locking, you may need to replace the nozzle.

If The Bike Pump Is Not Pushing Air Into The Tire
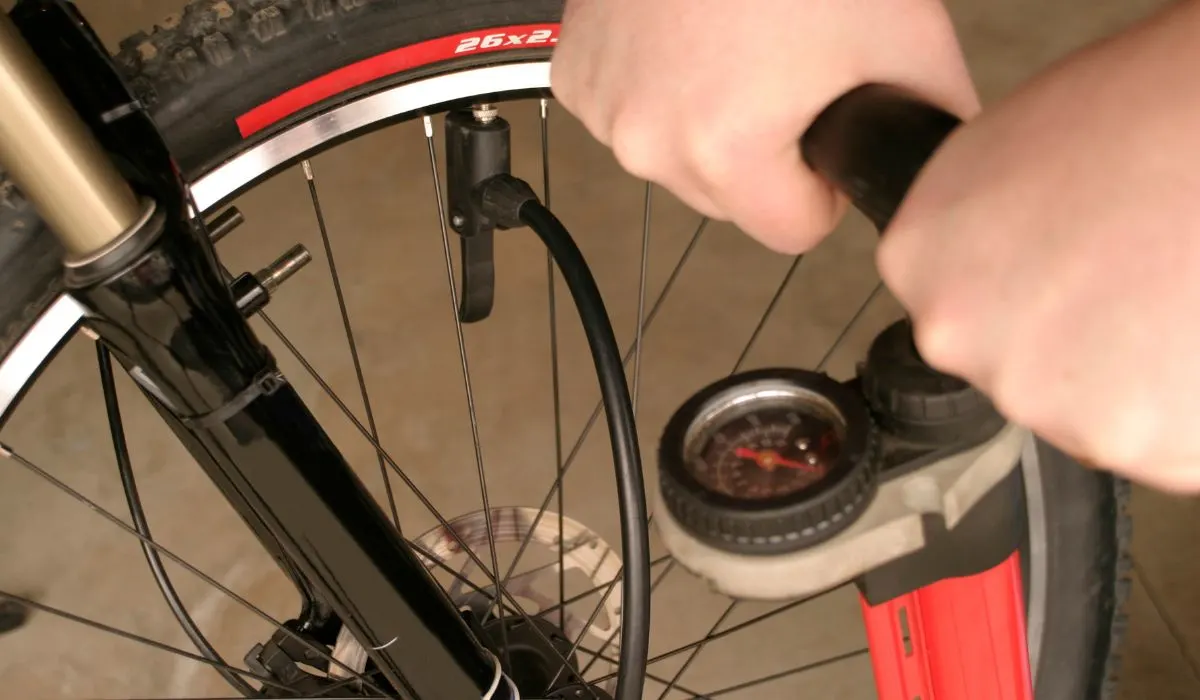
If you are pumping away, but little or no air seems to enter your tire, it can be due to the nozzle or hose.
Step 1: Make Sure You Are Using The Correct Nozzle Hole
Secure your bike pump’s nozzle onto the bike’s tire valve and lock it in place. Now, pump the handle.
If you hear a hissing sound and notice that the tire is not inflating, then it is not pumping air into the tire.
Remove the nozzle and check the end tip: there are usually two holes at the end of the nozzle. You might be using the wrong hole and allowing air to escape.
NOTE: This misstep can happen when you use the larger hole for Schrader valves on smaller Presta valves.
Using the other hole, put the nozzle back on the tire’s valve and try pumping air into the tire again.
Step 2: Inspect The Nozzle Core
If you use the correct nozzle hole, but the bike pump is still not pumping air into your tire, examine the nozzle further.
Remove the nozzle and pull the core out with your fingers. Spin it around and put the nozzle core back inside backward. Now place the nozzle back on the tire valve and pump the handle to see if it inflates the tire.
Step 3: Check Your Hose For Any Damage
If you notice that some air is being pushed into your tire, yet you hear a hissing noise, the air is still escaping from somewhere.
Hold your thumb over the nozzle while pumping air to create pressure. Listen carefully and try to identify the location of the hissing sound. Typically, the sound will come from where the hose and the nozzle connect. Inspect the area to see if the hose is damaged, often in the spot where the hose bends.
If you see a crack or a hole in the hose, cut the hose about 1 inch back from the damaged area using a knife. Then cut the remaining smaller hose section off by the fitting and re-insert the hose where you cut it off.
When you pump the handle, it should inflate your tire with no audible hissing sound.
Step 4: Replace The Pump
If your bike pump is still not working after you have tried steps 1-3, the problem might be the internal valves of the pump, which are not serviceable. You will have to discard the pump entirely and purchase a new one.
Also Read: Bike Maintenance Essentials Every Cyclist Should Have
If The Bike Pump Won’t Push Down
If a bike pump won’t push down i.e., when you see it won’t even budge, then there are chances it can stem from several issues, most of which are easily fixable.
Step 1: Lubricate Your Bike Pump’s Main Seal
If your bike pump gives resistance when pushed down on it or cannot pump up or down, it usually means the main seal at the end of the plunger is dry.
It is important to lubricate the main seal at least once a year – even more if the bike is stored in a dry and dusty environment.
You can use bike grease or WD-40 Specialist Silicone spray (Amazon link) to lubricate the primary seal. However, if your pump’s plunger uses a leather gasket instead of a rubber one, you will need a specific product, like Silca’s NFS Leather Conditioner.
If you opt for grease, remove the top cap and pull the plunger out of the pump tube. Apply some grease to the plunger and put it back in place.
If you use liquid silicone, spray some on the pump shaft and apply an up-and-down pumping action to distribute the lubrication evenly.
Step 2: Clean The Piston
If you are still unable to push down on the pump or it is showing some resistance, it might be the piston causing the pump to get stuck.
Remove the top cap of the pump and pull the piston and piston rod out of the barrel. Often, you will see a grease build-up on the piston, which you will have to clean.
Remove the piston O-ring and remove all the grease from the O-ring and the piston. Once cleaned, replace the O-ring and re-insert the piston, allowing the pump to push air immediately.

Gauge Is Showing Faulty Pressure
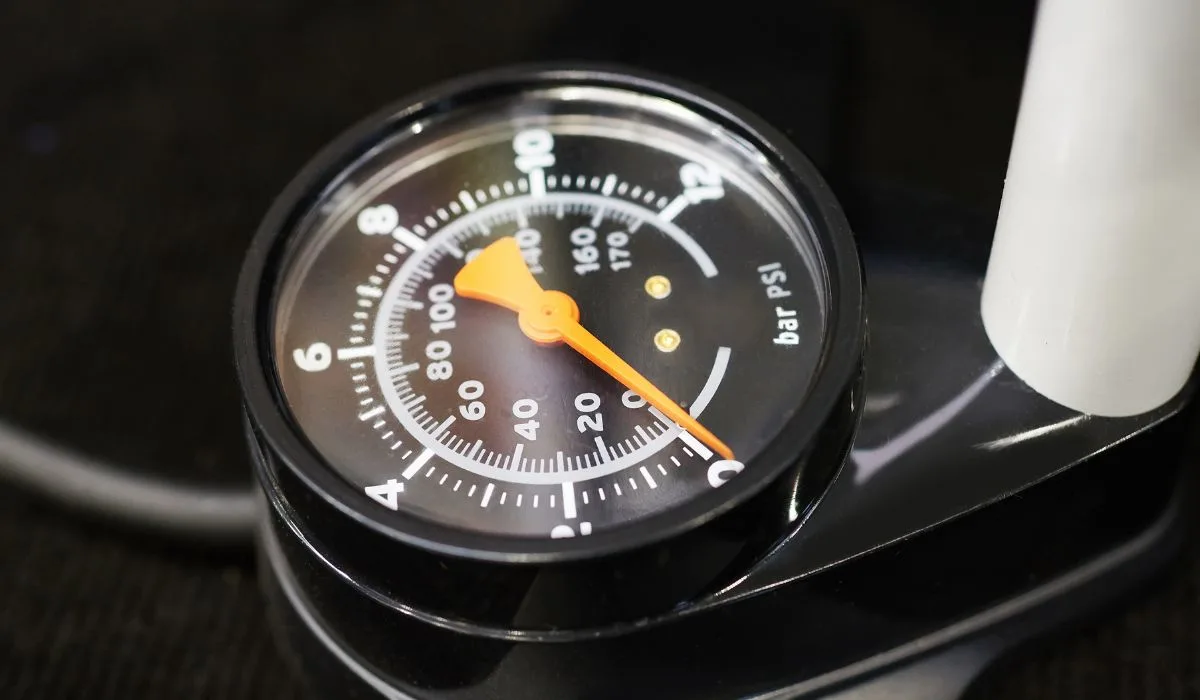
Sometimes you are pumping air into your bike’s tires, but the reading on the gauge is off, making it less accurate. This problem is widespread with older bike pumps since pressure gauges tend to deteriorate over time.
Step 1: Check For A Leak
To eliminate the possibility of a leak, check whether air is escaping between your bike pump hose and your tire valve. If it is, the gauge is not faulty, but your nozzle or hose might be.
- listen for any hissing sounds
- make sure you are using the correct nozzle hole
- inspect your hose to see if there are any cracks or holes
If your pump leaks, the gauge will not show a proper reading since it needs built-up pressure within the hose to perform accurately.
Step 2: Replace Your Pressure Gauge
If you are confident that the bike pump is not losing air, it means there is a possibility of your bike pump gauge not working. Whether it is broken is difficult to confirm if you do not have a standard to compare it. You might have a suspicion, but you will have to get a new pump or a stand-alone pressure gauge to collate the readings.
If you have a floor pump, you can easily replace the gauge with a stand-alone pressure gauge, like this one, sold on Amazon, by simply unscrewing it off from your pump and replacing it with the new one. These stand-alone gauges are usually inexpensive, and the installation is straightforward.
Recommended Bike Pumps
1. Mini Bike Pump – Presta & Schrader Bicycle Pump
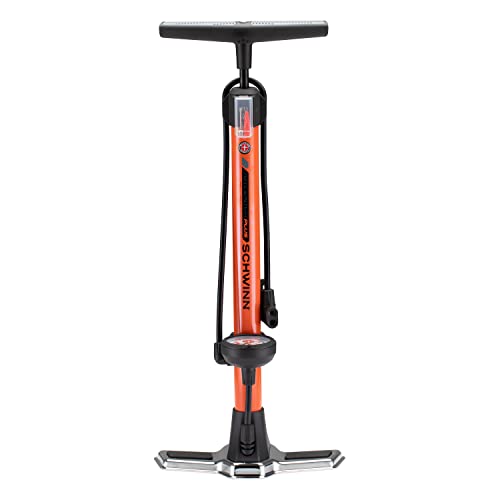
2. Schwinn Air Center Floor Bike Pump
3. Vibrelli Bike Floor Pump with Gauge
FAQs
How to use a bike pump with two holes?
The majority of floor pumps are equipped with two nozzle holes – one for the Schraeder valve and one for the Presta valve. A Schraeder fits into the big hole, and a Presta fits into the small hole. Please make sure the appropriate nozzle hole is firmly mounted on the valve by pushing it down onto it until it is firmly secure. In the process of doing this, there may be a little leakage of air from the tire.
What are possible solutions for the Schwinn bike pump not working?
If the valve is a Presta valve, loosen the tip. Verify that the nozzle of your bike pump is properly connected to the valve of your bike. Also, it is essential to press the pin down precisely in order for air to flow through the valve. Lastly, check the tire valve if that does not fix the problem.
Conclusion
No one likes getting stuck with a non-working bike pump. Luckily, most issues are fixable with the solutions outlined above.
It may also be necessary to maintain and modify various components. Furthermore, you have learned how to identify problems with your bicycle pump and replace the necessary components.
So whenever you experience a malfunctioning bicycle pump, implement these solutions according to the nature of the problem. A few quick and easy maintenance steps will usually do the trick to get you back on the bike in no time.
We hope you find this article helpful!
You might also be interested in:


